| PARTS LIST |
| * Omnipure L Series Twin Head + Steel Bracket Assembly with ¼”JG Fittings and 2 x s/s screws |
| * Omnipure L5505 5 micron Sediment Filter |
| * Omnipure L5520 1 micron Silver Carbon Block Filter |
Instructions
Turn off your cold water supply tap and pump.
Open the sink tap to relieve any pressure in the filter system.
Place towelling in cupboard in case of any drips or residual water when changing system.
Remove your existing AquaPort System by firstly taking out the ¼” John Guest tubes from the inlet and outlet ports – see John Guest sheet below for directions.
If tube ends are worn or marked, use a sharp knife to cut the tubing straight across without deforming the tubing.
Then unscrew the AquaPort bracket head assembly and discard. In its place install Omnipure L Series Twin Head using stainless screws supplied.
Leave sufficient room under the system so the filter cartridges can be replaced. If you do not have enough height in the cupboard simply install the system laying down horizontally on the shelf and secure with screws.
Check the FLOW DIRECTION ensuring you connect the inlet and outlet correctly. To use the quick connect fittings simply push the tubing all the way into the fitting and then pull out to lock and seal.
Do not kink or have tight bends in the tubing near the connections.
Ensure filters are installed in correct order:
1st Stage L5505 Onmipure 5 micron Sediment Filter
2nd Stage: L5520 Omnipure 1 micron Carbon Filter – Cyst Rated
Check all connections.
Turn on the filter tap and leave it on to allow the air and carbon fines to purge out of the system.
Turn on the water supply and flush the new filter for 2-3 minutes.
Turn off sink tap and check for leaks.
You may have some air bubbles in the water for a few days, this will go away.=
It is important when installing new filter cartridges to always make sure the filter tap is turned on before turning the water supply on. This will allow air to escape and flush out carbon fines which may cause the water to look cloudy. Flush until water is clear or has minimal air bubbles.
Replacement L- Series Filters and Parts available from Clarence Water Filters
Get in touch if you run into any issues!
CLARENCE WATER FILTERS
W: www.clarencewaterfilters.com.au
T: 02 6646 8565
E: sales@clarencewaterfilters.com.au
How to Make a Connection with a John Guest Style Fitting
To make a connection, the tube is simply pushed in by hand; the John Guest style collet locking system that holds the tube firmly in place without deforming it or restricting flow.
1. Cut tube square
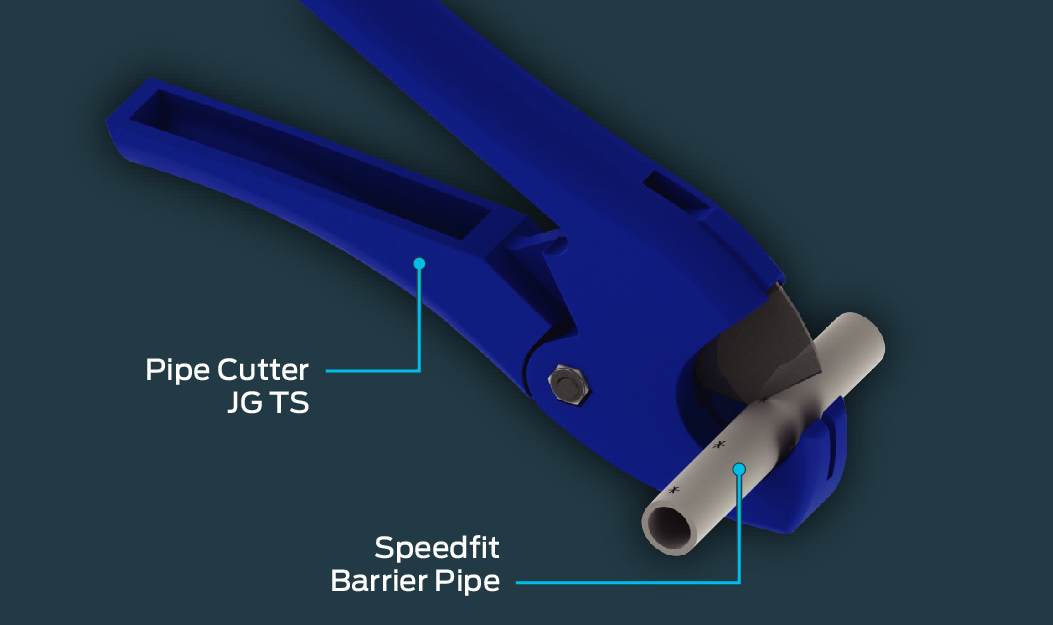
Cut the tube square. It is essential that the outside diameter be free of score marks and that burrs and sharp edges be removed before inserting into fitting.
Use a tube cutter or a very sharp utility knife. The cut needs to be flat so it can form a seal with the o-ring inside the fitting.
For soft or thin-walled plastic tubing, we recommend the use of a tube insert.
2. Insert Tube Into Fitting
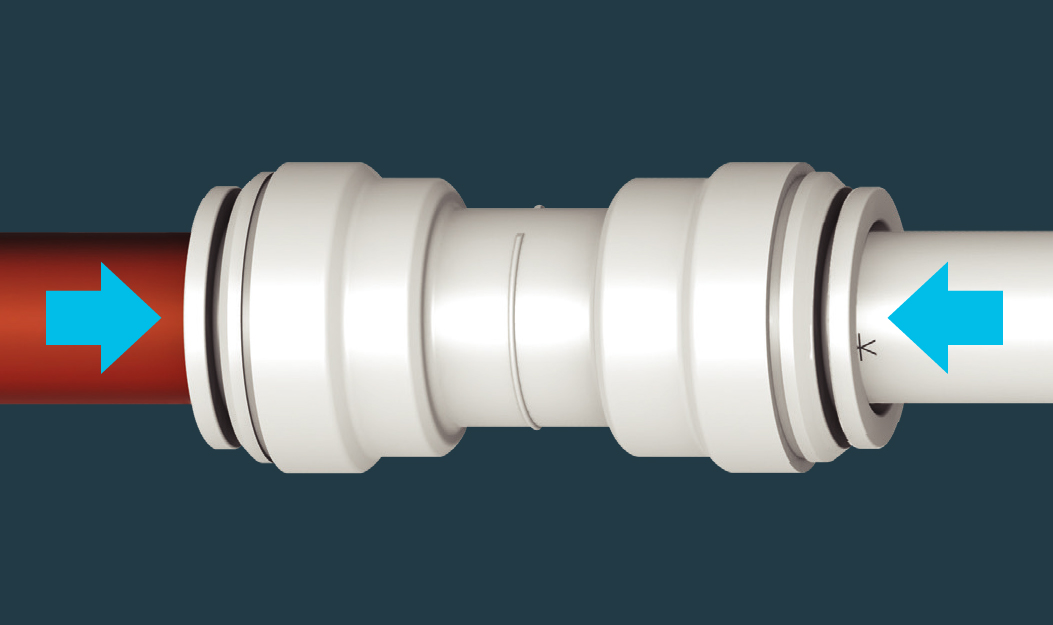
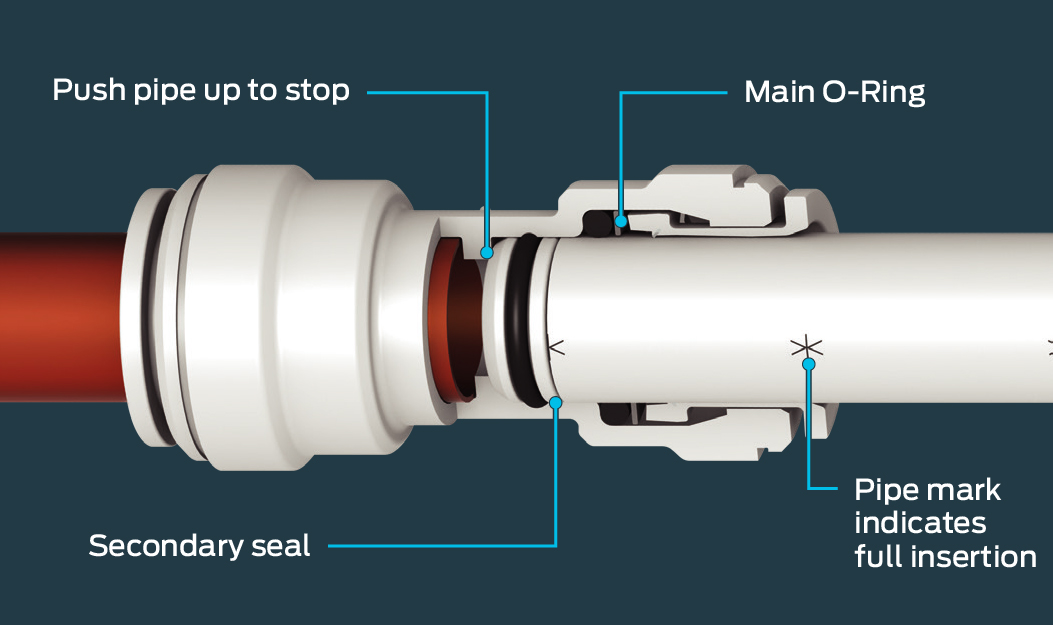
Push the tube into the fitting, to the tube stop. The collet (gripper) has stainless steel teeth which hold the tube firmly in position while the O-ring provides a permanent leak proof seal.
Note that the fitting grips before it seals. Ensure tube is pushed in to the tube stop. You may feel two points of resistance as you push the tubing in. One as it passes the metal teeth, then another as it seals on the o-ring.
3. Pull to check secure
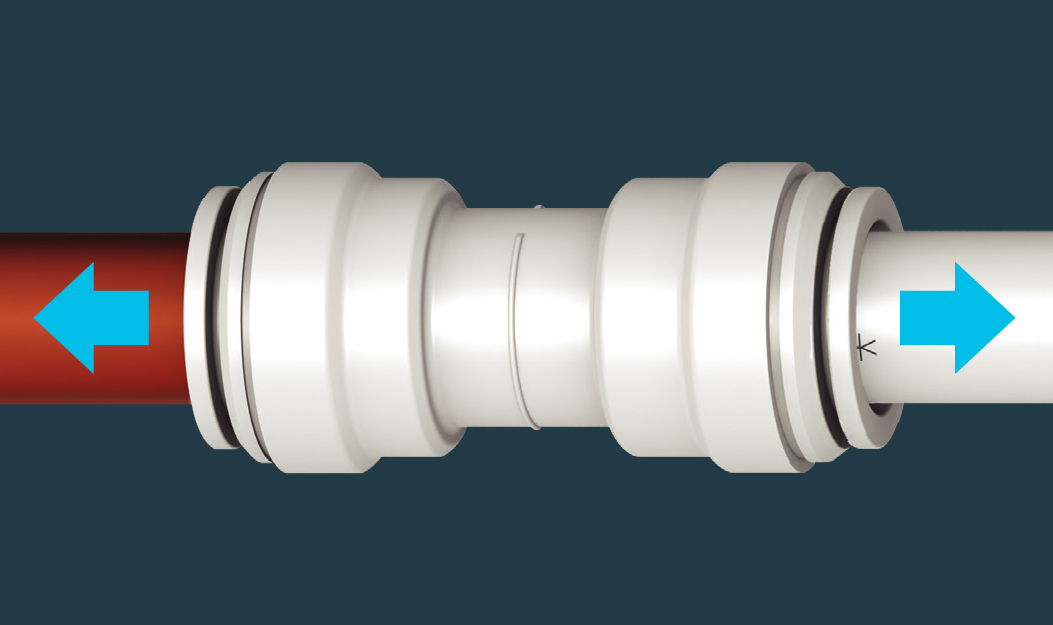
Pull on the tube to check it is secure. It is good practice to test the system prior to leaving site and/or before use.
How to Disconnect a John Guest Style Fitting
1. Push in collet and remove tube
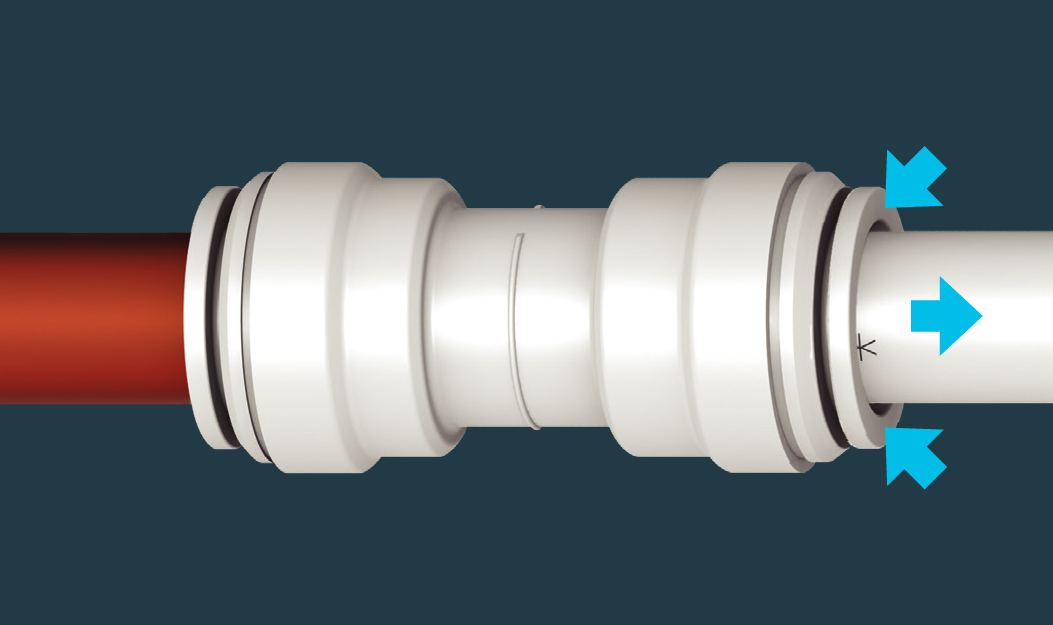
To disconnect, ensure the system is depressurized before removing fitting. Push in collet squarely against face of fitting. With the collet held in this position, the tube can be removed. The fitting can then be re-used.
(Note if the fitting has the red locking clips under the collet, these must be removed before trying to remove the tubing and only re-install the locking clips after the tubing is in place)

