Description
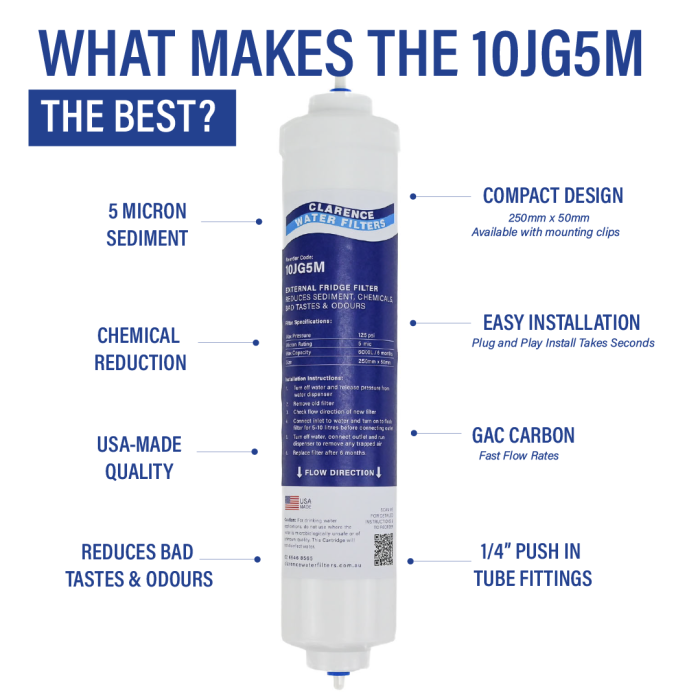
Genuine 10JG5M is a better flowing quick connect in-line fridge filter suitable for all fridges with 1/4″ tubing. The 10JG5M filters will replace the original 836860 filter head systems that use the 836848, 862284 and 862285 screw-in water filter cartridges. The 10JG5M filters will fit any Fisher & Paykel fridge that has an external water filter. With the new filters you can expect a longer service life as original filters do not last long in some areas.
Can also be used to covert away from the external 847200 (which sits outside of the refrigerator).
Click here for how to convert video.
Models include E442BRXFDU, E442BRMFDU, E522BRXU, E522BRMU, E522BRMFDU, E522BRXFDU, RF610ADUM, RF610ADUX, RF614A
Can also be used on some Haier fridges with an external water filter and replaces AQP-FF35A.
Simply remove the tubing from the existing filter head and push the tubing straight into the new 10JG5M filter. The 10JG5M filters are cheaper and easier to purchase than the original 836848 filters.
Reduces sediment, chemicals, chlorine, bad taste, odours. Will not restrict the flow to ice maker & water dispenser causing costly service calls like the original filters.
- Maximum pressure 125 PSI
- NSF tested
- Dimensions are 250mm x 50mm
- Capacity of up to 6000 litres.
These filters have a endless shelf life if unused, so buy in bulk and save.
Full instructions for Fisher and Paykel 836848 Conversion to 10JG5M
- Turn water supply off, release pressure in water line by running water dispenser.
- Disconnect the tubing from the original filter head.
- Push the tubing towards filter head and hold the tube collar down.
- While holding the tube collar down pull the tube out of the head unit. If tubing is damaged or flanged out of shape simply cut off a small piece of the tubing, cutting straight across using a sharp knife.
- Check the flow direction, which is marked on the new filter making sure to put the water inlet supply tubing into the inlet side on the filter (the bigger end of the filter)
- Push the tubing all the way into the filter then pull outwards on the tubing to lock the tubing in and then follow flushing procedure as per filters instructions.
- Before connecting outlet side turn water on to flush the filter removing any superficial carbon dust and air from the filter, flush 5-10 litres of water into a bucket.
- Turn the water supply off and then connect the tubing from the fridge to the outlet side of the filter. Turn water supply on and run water dispenser to remove any air in the line. Check for any leaks.
- It is a good idea to recheck connections. Mark replacement filter due date on filter, To ensure healthy, clean water it’s recommended to replace filters at 6 month intervals as this reduces the risk of bacteria growth in the filter.
- Support the filter using the cable ties or mounting clip.


Reviews
There are no reviews yet.